
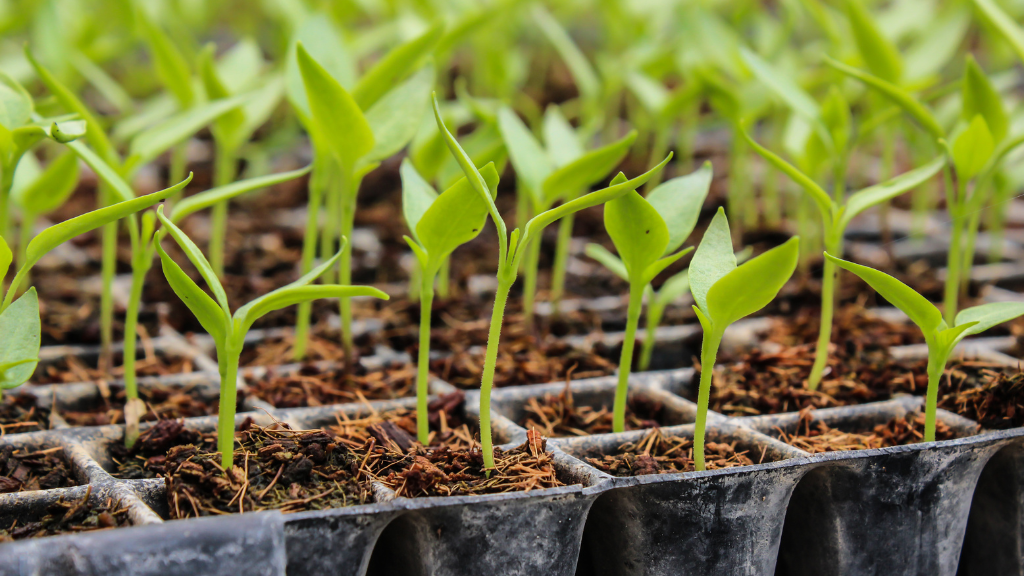
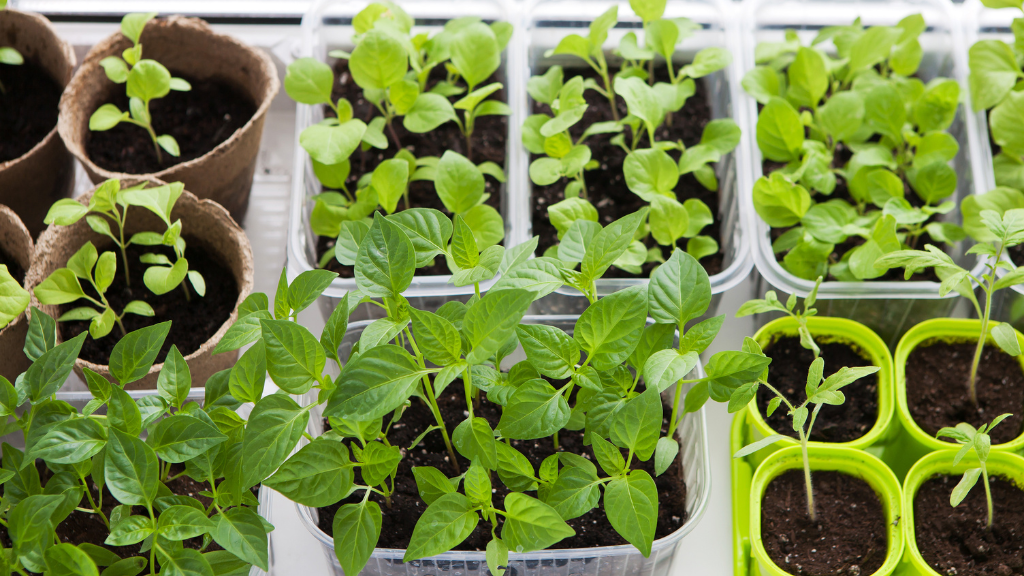
If you’ve started your own seeds indoors, you might be wondering when and how to move them outside. You can’t just take them out of their cozy indoor environment and plant them in the ground. They need some time to adjust to the outdoor conditions, such as sun, wind, temperature, and moisture. This process is called hardening off, and it’s essential for healthy and strong plants.
In this article, I’ll show you how to prepare seedlings for planting and answer some common questions along the way. By following these tips, you’ll have your seedlings ready for transplanting in no time!
When To Start Hardening Off Your Seedlings
The best time to start hardening off your seedlings depends on several factors, such as the type of plants you’re growing, the weather in your area, and the date of your last frost.
Generally speaking, you want to start hardening off your seedlings about two weeks before you plan to plant them in the ground. This will give them enough time to acclimate to the outdoor conditions without stunting their growth.
However, some plants are more sensitive than others and may need more or less time to harden off. For example, tomatoes and peppers are warm-season crops that don’t tolerate frost or cold temperatures well. You should wait until after your last frost date to start hardening them off, and only expose them to mild and sunny weather. On the other hand, lettuce and kale are cool-season crops that can handle some frost and cold temperatures. You can start hardening them off earlier, and expose them to a wider range of weather conditions.
To find out the best time to start hardening off your specific plants, check the seed packet or the plant tag for information on their preferred growing conditions and maturity dates.
How To Prepare Your Seedlings For Planting Step By Step
Once you’ve determined when to start hardening off your seedlings, you can follow these steps to do it properly:
- Choose a sheltered spot. For the first few days of hardening off, you want to place your seedlings in a spot that is protected from direct sun, strong wind, heavy rain, and extreme temperatures. A good option is a covered porch, a patio with an awning, or a shady spot under a tree. Avoid placing your seedlings near reflective surfaces like windows or metal siding that can magnify the sun’s rays.
- Check the weather forecast. Before you take your seedlings outside each day, check the weather forecast for any signs of adverse conditions that could harm your young plants. If there is a chance of frost, hail, thunderstorms, or high winds, keep your seedlings indoors or bring them back inside as soon as possible.
- Start with short periods. On the first day of hardening off, take your seedlings outside for only an hour or two in the morning or evening when the sun is not too intense. Then bring them back inside for the rest of the day.
- Increase the duration gradually. Each day after that, increase the amount of time that your seedlings spend outside by an hour or two until they are outside for most of the day. Depending on the weather and the type of plants you’re growing, this may take anywhere from 7 to 14 days.
- Increase the exposure gradually. As your seedlings get used to being outside for longer periods of time, you can also increase their exposure to different elements gradually. For example, you can move them from a shady spot to a partially sunny spot after a few days, then to a full sun spot after a few more days. You can also expose them to gentle breezes by placing them near an open window or a fan at low speed.
- Water and fertilize as needed. During the hardening-off process, you need to monitor your seedlings’ water and nutrient needs closely. They may dry out faster or slower than usual depending on the weather and their exposure. Water them when the soil feels dry to the touch, but avoid overwatering or underwatering them. You can also give them a light dose of fertilizer once or twice a week to boost their growth and health.
- Turn the pot upside down. This is a trick that some gardeners use to check if their seedlings are ready for transplanting. To do this, gently turn the pot upside down and tap the bottom to release the root ball. If the roots are well-developed and hold the soil together, your seedlings are ready for transplanting. If the soil falls apart or the roots are sparse, your seedlings need more time to grow.
How To Transplant Your Hardened-Off Seedlings
After you’ve successfully hardened off your seedlings, you can transplant them into your garden or containers. Here are some tips to make the transition as smooth as possible:
- Choose a cloudy or cool day. Avoid transplanting your seedlings on a hot or sunny day, as this can stress them out and cause them to wilt or burn. A cloudy or cool day is ideal, as it will give your plants some time to adjust to their new environment without too much shock.
- Prepare the planting site. Before you transplant your seedlings, make sure to prepare the soil. Loosen the soil, add some compost or organic matter, and dig a hole that is slightly larger than the root ball of your seedling. You can also water the soil lightly to moisten it.
- Handle with care. When you’re ready to transplant your seedlings, handle them with care and avoid damaging their roots or stems. Gently remove them from their pots by turning them upside down and tapping the bottom. If they are in peat pots or other biodegradable containers, you can plant them directly without removing them. Just make sure to tear off any excess material that sticks out above the soil level.
- Plant at the right depth. Place your seedling in the hole and fill it with soil, making sure that the top of the root ball is level with the soil surface. Don’t plant your seedling too deep or too shallow, as this can affect its growth and health. You can also create a small basin around the base of your plant to help retain water.
- Water well. After you’ve planted your seedling, water it well to settle the soil and eliminate any air pockets. You can also add some mulch around your plant to help conserve moisture and prevent weeds.
- Protect from pests and diseases. Depending on what you’re growing, you may need to protect your transplanted seedlings from pests and diseases that could harm them. For example, you can cover your plants with row covers, netting, or cages to keep away birds, insects, and animals. You can also apply some organic pesticides or fungicides if needed.
- Monitor and adjust. For the first few days after transplanting, keep an eye on your plants and see how they’re doing. They may show some signs of stress or shock, such as wilting, yellowing, or dropping leaves. This is normal and should subside as they adapt to their new home. However, if they continue to struggle or show signs of disease or pest infestation, you may need to intervene and provide some extra care.
Conclusion
Hardening off your seedlings is an important step that can make a big difference in the success of your garden. By following these steps, you can prepare your seedlings for planting and help them thrive in their new environment.
I hope you have enjoyed this article and learned something new about hardening off your seedlings. If you have any questions or comments, feel free to leave them below. I’d love to hear from you!


